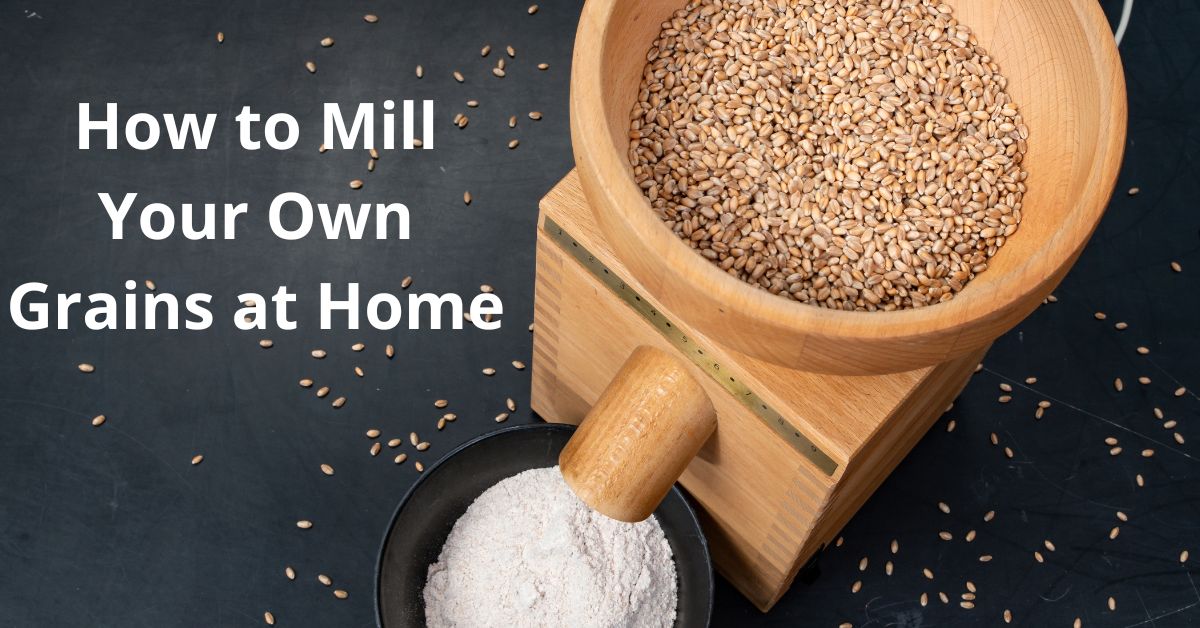
With more people baking bread and cooking from scratch these days, milling your own grains and flours at home has become increasingly popular. Milling your own grains offers freshness and allows you to customise your flour blends. If you’re new to home milling, this beginner’s guide will walk you through everything you need to know to get started milling your own grains.
Choosing a Home Grain Mill
The first step is selecting a suitable home grain mill for your needs and budget. Here are some top options:
- Electric grain mills provide fast, convenient milling at the push of a button.
- Classic Austrian-made Waldner grain mills feature durable stone burrs that grind very fine flour, perfect for pastries.
- Mockmill grain mills are engineered in Germany with special stone burrs that mill cool to preserve nutrients. The Mockmill 100 is a budget-friendly electric model.
- Non-electric stone grain mills like the Flocker or Farina attach to counters for traditional hand-cranking operations.
- Small hand grain mills offer lightweight portability for milling on the go.
Preparing Your Grains
Prior to milling, grains need to be cleaned and conditioned:
- First, inspect the grains and remove any debris, bad kernels, or stones.
- Next, rinse and dry the grains thoroughly. Allow to air dry completely before milling.
- For improved milling, store conditioned grains in an airtight container for 48 hours. This allows grains to toughen up before grinding.
Operating Your Home Mill
Once your grains are prepped, you’re ready to start milling:
- Mill in small batches for a slow, cool grind that preserves nutrients and flavour.
- Adjust mill settings from fine flour for cakes and pastries to coarser flour for artisan breads.
- For whiter flour, chill or freeze grains prior to milling.
- Regularly clean the mill to prevent flour taste impairment from grain residue buildup.
- Allow freshly milled flour to breathe in an airtight container for 12–24 hours before baking.
Tips for Home Milling Success
Follow these tips for the best results when milling at home:
- Use hard wheat varieties like hard white or hard red wheat berries, which have about 12% protein.
- Condition all grains by cleaning, rinsing, and resting before grinding.
- Start with quality grains from a reputable supplier.
- Experiment with grind settings and flour blends to find your ideal homemade flour.
- Combine freshly milled flour with store-bought flour for lighter baked goods.
With practice, milling grains at home is easy, cost-effective, and rewarding. Nothing beats baking with the fresh flour you milled yourself! Get creative with grain varieties and flour blends tailored to your recipes.


